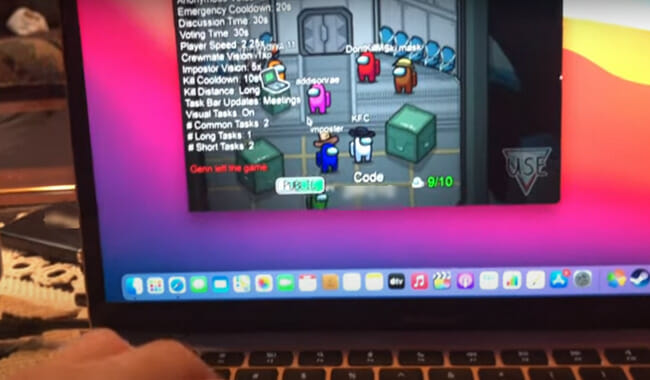
Video games are more popular today than they've ever been. With the ever-increasing cost of consoles, some gamers would rather utilize their PCs instead of splurging huge sums of money on a console unit that would become nearly obsolete in about a year.
The best thing is that you can now run your favorite games across different platforms, such as playing Windows games on your Mac. There are numerous ways, but we’ll take a glance at just the 6 most popular ones.
PC Game Emulator for Mac
As a matter of personal experience, if you are looking for how to play Windows games on a Mac, it is easier to play multiplayer games on a Mac than on a regular Windows PC. So, if you have a Mac at home, there’s no need to restrict yourself to your Windows games PC when you can comfortably run them as Mac games.
To play PC games on a Mac, you will need to install an emulator – software that creates a Windows OS environment on your Mac – to play them.
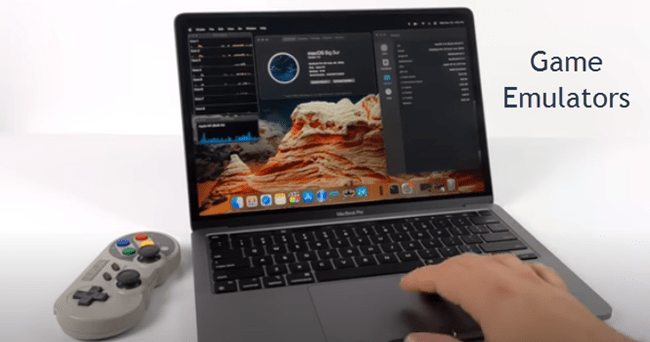
Here are 6 different ways of accomplishing this:
- Using Parallels Desktop
- Using CrossOverMac
- Using BootCamp
- Steam – run Windows Steam games on Mac.
- Using VMware
- VirtualBox – simple emulator to run computer games for Mac
(1) Parallels Desktop
Parallels Desktop is the best virtualization solution for macOS computers if you are thinking about running Windows alongside your MacOS applications. You don’t even require a complimentary license or similar necessities to get started. There’s little doubt that their latest version will work perfectly on your machine.
Perhaps the most pressing question for some newbie and PRO gamers out there is if they can run Windows games on their Macs with Parallels Desktop and still not experience stutters and untimely shutdowns. The answer is ‘Yes'.
Supports the Latest DirectX
With Parallels Desktop for Mac, you can, comfortably, play any Windows games you want, especially those that need DirectX 11.
DirectX 11 is a suite of technologies and tools designed to make your Windows-based computer an ideal platform for displaying and running applications rich in common multimedia elements such as 3D animation, video, rich audio, and full-color graphics.
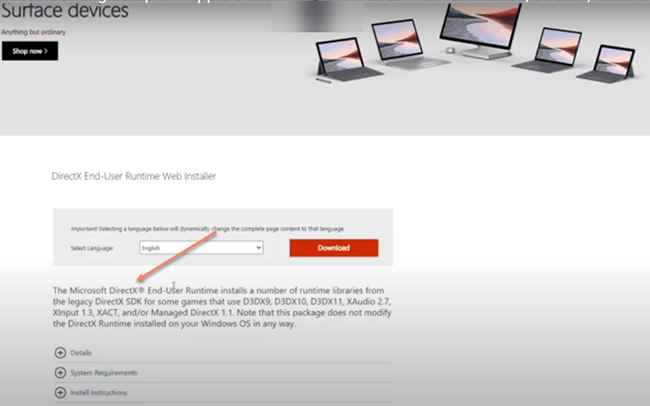
If you upgrade your old Parallels Desktop to version 19, the best DirectX will automatically become available in your Windows once you’ve installed the new Parallels tools. The same will be felt on your Mac once you install Parallels Desktop.
Here are some of the popular games that have been tested to run flawlessly on the system:
* Halo
* FIFA 19
* Madden 19
* Anno 2205
* Space Engineers
* Railway Empire
* Crysis 3
* Frostpunk
* Risk of Rain 2

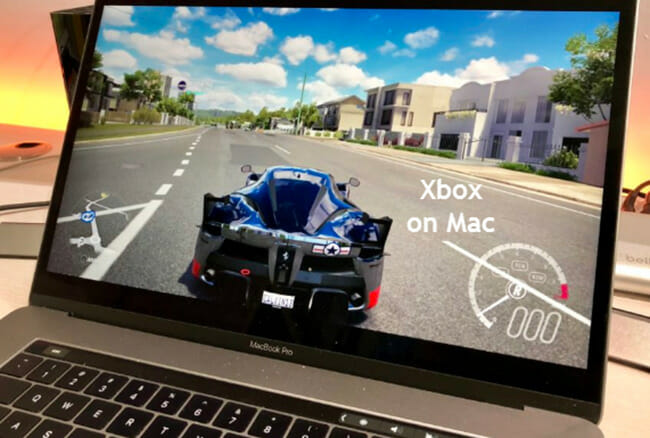
Games on Xbox can also be run on Mac with the right application.
Requirements
The system needs to be equipped with these must-haves if you want to run DirectX 11 smoothly.
Remember, Parallels Desktop would be near useless without great pictures and sound quality – that’s how DirectX 11 gets in the mix:
* macOS v10.14.4 or later sub-versions, macOS v10.15 or later versions
* Parallels Desktop 15 or later version
* Windows 7, Windows 8.1, Windows 10, or Windows 11
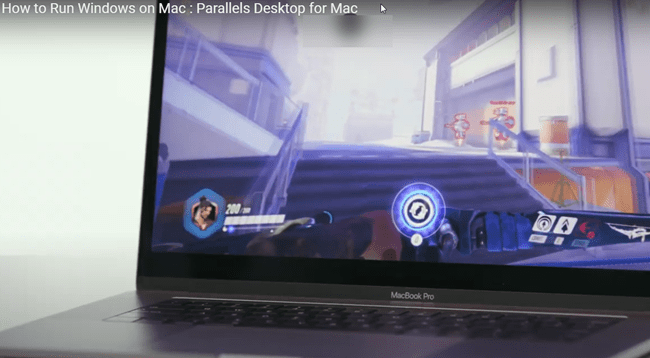
Tune Your Windows Virtual Machine for Best Performances
Before even installing this emulator, you need to ensure that the Windows virtual machine is running to the best of its abilities.
Follow these steps:
(A) Shut down the Windows virtual machine
(B) Proceed to open the virtual machine's configuration
(C) Click on the “Change…” button, then select “Games only.” Click on profile, then OK.
Important: This profile will change Windows and macOS sharing settings. So, if you want to permit Shared Applications as well as Shared Profile, proceed to the Options tab, click on “Sharing” and “Application” settings, respectively.
Also, note that most of the DirectX 11 games out there are hardware-stressful apps, so their performances are directly related to the Mac hardware (hard disk, CPU, and GPU) they run on.
Further note that, at least, macOS v10.15 Catalina would be highly recommended if you want the best graphic performance. However, if you have macOS 12 Monterey or later, that will be fantastic.
To check what Graphics and Processor your Mac is equipped with, open the About This Mac section of your Mac, proceed to System Report, and open Graphics/Displays.
It is a good idea (and even strongly recommended) to equip your Mac with a dedicated PCIe graphic adapter. Alternatively, you can choose an external graphics processor just to ensure things run perfectly.
Now that you know the system requirements, let's have a look at how to activate your Parallels Desktop and eventually install Windows on macOS.
Activating Parallels Desktop and Installing Windows on Mac
Before even getting started, you are required to sign up by creating Parallels ‘My Account', which, for a gamer, is beneficial.
Best Way to Play Windows Games On MacOS
The first step to running Windows games on Mac is installing Windows on your Mac.
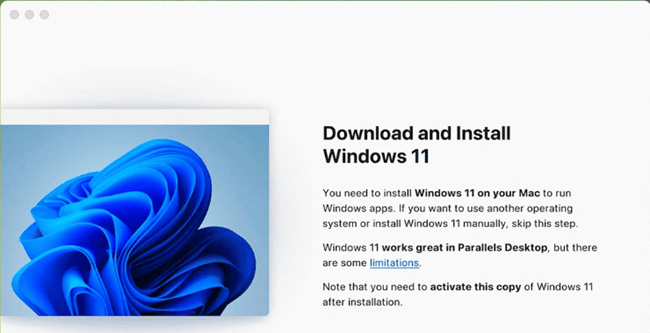
To do that, you first must install the right PC game emulator for Mac or a Windows virtualization tools suite, in this case, Parallels Desktop. Parallels Desktop comes with two advantages: it’s perfectly compatible with pretty any Windows game out there and is also secure, fast, and designed for quick mass deployments.
Here’s how to add Parallels Desktop on your Mac:
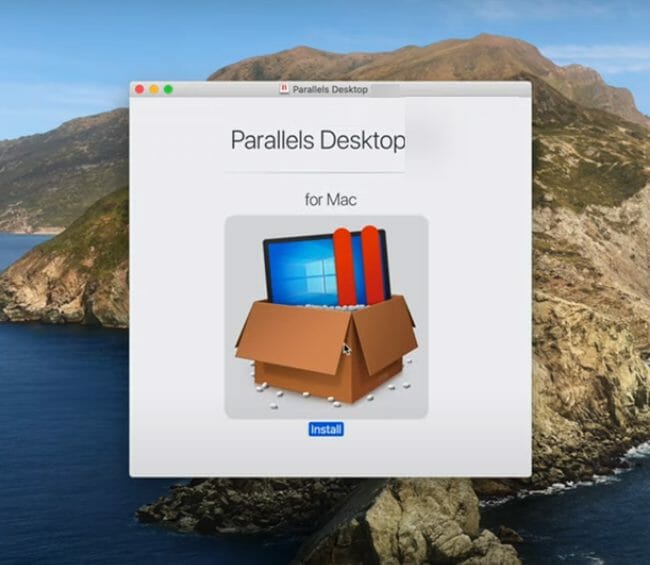
(A) Start by downloading your Parallels Desktop installer on your Mac.
(B) Go on to double-click on the .dmg installation pack to conveniently mount it in Finder, and proceed to double-click Install.
(C) Take your time to read through the EULA or Software License Agreement, then click Accept.
(D) When prompted, enter your Mac user password and finalize the installation process.
Next, you will need to activate your Parallels Desktop, here’s how:
(A) Double-click the icon to launch Parallels Desktop.
(B) If the first dialog box that pops up is the software’s Installation Assistant, just skip it – it’s not needed at this moment. The Installation Assistant assists you in installing Windows—that sounds like something you can install later, doesn’t it?
(C) Now proceed to click on the Parallels Desktop tab at the top of the window to reveal a dropdown menu, navigate downward, and click on Account & License. It will open the Parallels Desktop sign-up box.
(D) If you want a business edition of this emulator, you can click on the Business Edition button located at the bottom-left section of the box. Otherwise, proceed with the regular version by entering the email and password of the Parallels ‘My Account' you created earlier.
Voila! There you have Parallels Desktop on your Mac – fully activated and ready for Windows installation!
Installing Windows in Your Parallels Desktop
You’ve just finished installing Parallels Desktop, but you still need Windows OS to play your games on Mac. So, this guide will walk you through the process of setting up Windows OS on your Mac – you don't need to buy Windows 10 or 11 beforehand.
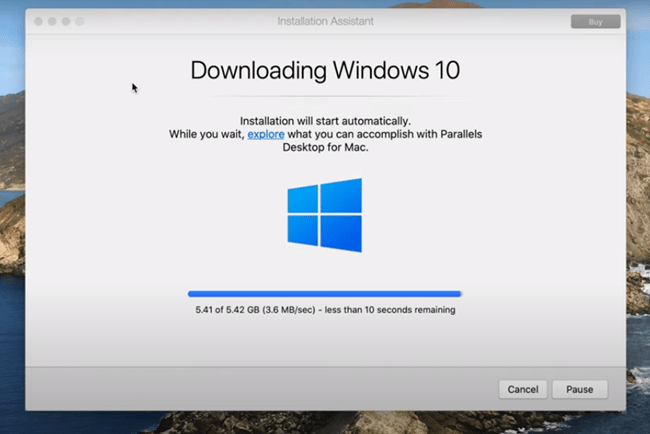
The process of installing Windows on your Mac can vary slightly depending on your situation, and there are 3 situations you are more likely to find yourself in:
* Situation 1 – You have just finished installing Parallels Desktop on the machine
* Situation 2 – You already have Parallels Desktop running on your Mac, and the only thing remaining is to add Windows VM (virtual machine)
* Situation 3 – You wish to transfer Windows from your physical PC to your Parallels Desktop VM
Situation 1 – You have just finished installing Parallels Desktop on the machine
You might have observed that when you try to launch your Parallels Desktop, it automatically detects that virtual machines are missing, so it offers to download Windows and install it for you.
In this case, simply click on Install Windows, and the system will immediately start the download process. It's going to take about 40 minutes with sufficiently fast internet.
While at it, the system will show you Parallels® Toolbox – a suite of over 30 single-purpose tools that are, almost always, bundled with Parallels Desktop.
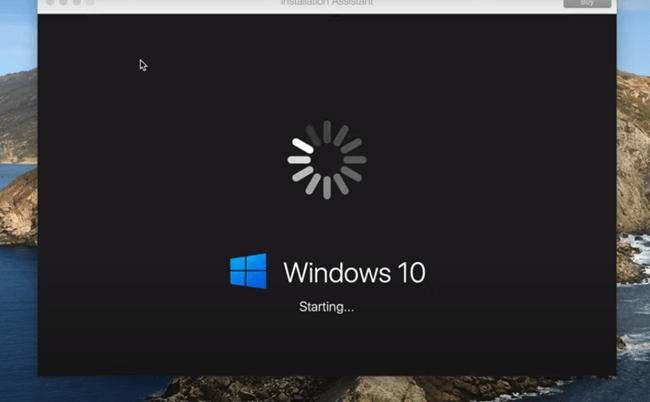
Situation 2 – You already have Parallels Desktop running on your Mac, and the only thing remaining is to add Windows VM (virtual machine)
Installing Windows as an extra VM in your Parallels Desktop can be as easy as ABC.
To initiate the process, either click on the plus (“+”) symbol in the top and right corner of your Control Center window or choose the “New…” option on the File menu of your Parallels Desktop.
Let’s assume you do not have any Windows installation DVDs with you, click on the “Get Windows via Microsoft” button. Proceed to buy the OS and use the items they’ll send to you (Win 10 ISO file and product key) to install it.
Situation 3 – You wish to transfer Windows from your physical PC to your Parallels Desktop VM
This process will make a copy of everything you have on your physical PC and transfer it to a Parallels Desktop VM: data files, Windows itself, and apps. The physical PC may remain unmodified. This transfer occurs over a network.
There are 2 computers: the source Windows PC and the destination Mac with Parallels Desktop, which is receiving the OS.
Some of the operations and actions you will take during the transfer occur on your PC as well as your Mac, so you might need to make trips back and forth to get the process right between the two computers.
The task on how to transfer from PC to Mac with Parallels Desktop for Mac is a little detailed but uncomplicated.
Whatever you intend to do, Parallels Desktop's Installation Assistant now makes the process seamless and easy for you.
Installing Parallels Desktop on Windows 11
Installing Parallels Desktop on Windows 11 is even simpler. In just, about, 2 clicks, you can install and configure Parallels Desktop on your Mac.

(2) Crossover Mac
The new Macs equipped with Apple’s M1 chip are designed to support CrossOver v20 for running some of the most sought-after Windows games. CrossOver is part of the Wine Project – an open-source – that permits users to play a few 32-bit Windows games on macOS and Linux. This removes the laborious need to first install Windows on the machine before playing your games.
This is welcome news for gamers who relied on BootCamp to play Windows games on their Macs since the newer ARM-based M1-powered Macbook models don’t support BootCamp:
To install and use CrossOver, here’s how you should proceed:
(A) First off, install CrossOver.
(B) Once you’ve installed CrossOver, search for ‘Steam' and download it. It’s a simple process, very much like downloading any Windows application.
(C) Thereafter, you need to download and install dxvk Vulcan. This add-on is optional as it only helps you run the Windows games smoothly – no other remarkable purpose.
(D) Lastly, proceed to install Direct X designed for modern games.
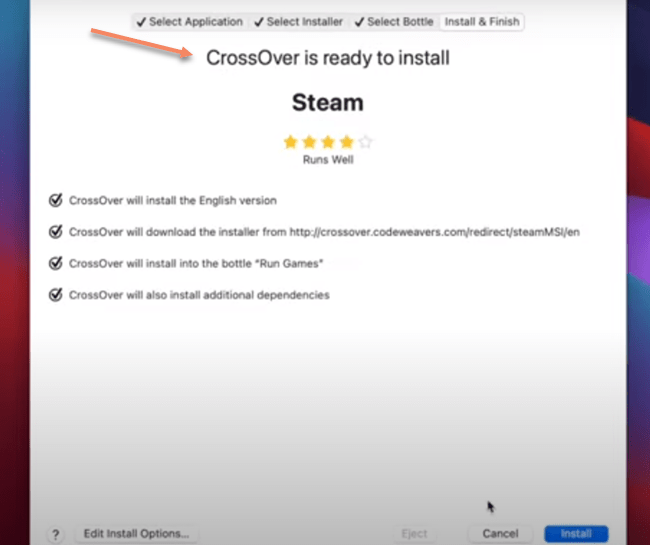
Note that not every game you will install will work smoothly. Some games – for example, ‘Alien Isolation' – have been found to run and crash abruptly. Others like ‘Apex Legends' and ‘Batman: Arkham Knight' have been reported to fail to work completely.
Here's the bottom line: Any game that utilizes DRM will not run on CrossOver. Some games stutter with low graphics and fps as low as 50 – ‘Bioshock Infinite' is an example.
(3) BootCamp Mac

BootCamp is another way of running Windows games, natively, on your Mac. You will use BootCamp to install Windows on the hard drive of the Mac. This effectively makes your Mac a Windows PC with your macOS still on it.
Still, you will be required to reboot into the Windows OS every instance you want to launch the Windows game.
BootCamp comes with one major benefit: there is no third-party software onboard, so the performance is fast and better.
Using BootCamp to install Windows on your Mac is not a difficult process.
(4) Steam

Play Windows Games On Mac Through Steam
BootCamp comes with one drawback: it uses a sizable part of your Mac’s hardware, so Macs with slow integrated graphics will not run more resource-hungry games. Conversely, Steam for Macbook is a bit resourceful and uses your battery sparingly.
If you have an average Windows gaming PC with satisfactory graphics hardware, big disk space, and enough CPU power, you can utilize Steam’s in-home streaming component to stream a wide range of games running on a Windows PC straight to your Mac.
Steam is more of an online games store than a straightforward emulator. It offers plenty of Mac computer games as well as Windows PC games. But, can you play Steam games on Mac?
Certainly ‘yes'.
To run Windows Steam games on Mac, follow these processes:
Here is how to install it and download your first on Mac:
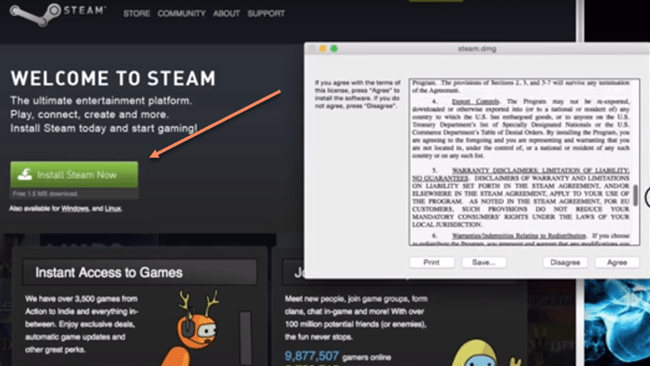
Installing Steam on Your Mac
(A) Go to Steam's website using your browser and download Steam for Mac.
(B) Click on Install Steam located at the top right part of the webpage.
(C) Select Install Steam.
(D) Click on the “Show Downloads” button. This may automatically open when the file concludes downloading, depending on the browser.
(E) Proceed to double-click on the steam.dmg file to launch your installer.
(F) Click, drag Steam, and drop it into the Mac’s Applications folder.
(G) Wrap up this part by exiting the window.

How to Download Your First Steam Game:
(A) Launch Steam from your Mac’s Applications folder.
(B) Click on Open, if applicable.
(C) You will need to pause a bit for Steam to update.
(D) If you already have an account, log into it; otherwise, tap on Create New Account to establish one.
(E) Go through the required steps on the displayed box.
(F) Click Store.
(G) Browse the Steam store for a few games of your liking. You will need to ensure the game is compatible with your Mac. You will see Apple’s logo on every compatible game.
(H) Click on the game’s title
(I) Click on Add to Cart.
(J) Proceed to purchase for yourself.
(K) Choose your payment method and fill in the appropriate payment information.
(L) Proceed by clicking on Continue.
(M) Click the provided checkbox to agree with the terms and conditions.
(N) Click on Purchase.
From here, the game will start to download, and you’ll start playing your Steam Mac games immediately after they are done.
(5) VMware
If you are a PC gaming purist and love a little bit of sophistication, you may want to consider VMware as an emulator for PC gaming on Mac. VMware Fusion PRO, together with VMware Fusion Player Desktop Hypervisor, gives Mac users all the freedom they need to run their Windows games on Mac side by side with all macOS applications. Like Parallels Desktop, the best thing about VMware is that you don’t need to reboot the system to play your games – just hop on your games from regular MacOS applications as you wish.
With an improved 3D graphic engine, you may now be able to play many games with recent releases of VMware without stuttering, hanging, or shutting down.
Also, it provides hardware-accelerated OpenGL and DirectX 11 capable virtual machines, plus added support for most eGPU devices. Any gamer with a Mac OS stands to benefit from its 8GB (max) of vRAM per virtual machine. Better yet, VMware employs a special ‘sandbox' process that renders graphics to improve performance.
The installation process can be long and a bit intricate.
(6) VirtualBox

VirtualBox is yet another popular emulator used by hundreds of thousands globally to bring the Windows gaming experience to macOS.
To get started, you will first need to get a Windows 10 ISO file from Microsoft, and download VirtualBox. The rest of the process involves following simple instructions, and in no time, you will have Windows OS running on your MacOS X.
* Download the VirtualBox installation file from Oracle free – install this just like any other application.
* Get Windows 10 ISO file from Microsoft free – save this somewhere you can locate it easily, such as Mac Desktop.
* Remember, you need 8GB or more of free disk space to successfully install Windows in the virtual machine.
* As long as your Mac has reasonable speed and sufficient CPU and RAM, you are good to go (the newer your system is, the better).
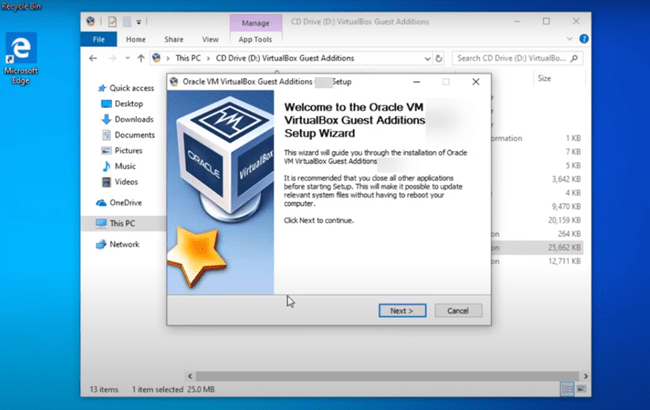
VirtualBox is one of the most recommendable cross-platform compatible virtual machine software out there, and while the demonstration above involves installing Windows 10 system in Mac OS X High Sierra, macOS Mojave, macOS Catalina, Yosemite, El Capitan, and macOS Ventura, you still can use this same guide for any other major OS.
Conclusion
So, can you play Minecraft Windows 10 on Mac? Absolutely ‘yes'.
Whether you simply want to play old Windows games on Mac or play Windows games on Mac Catalina, Monterey, Ventura, or Sonoma and the latest versions, you can easily do it using one of the many emulators available for free on the web.
Even if you are one of those gamers who take a simplistic approach to desktop thrill, you can still play Windows GOG games on Mac. However, make sure your system meets the bare minimum demanded by the game or emulator. Also, note that some games for Macbooks can be a bit demanding when it comes to hardware resources.

